
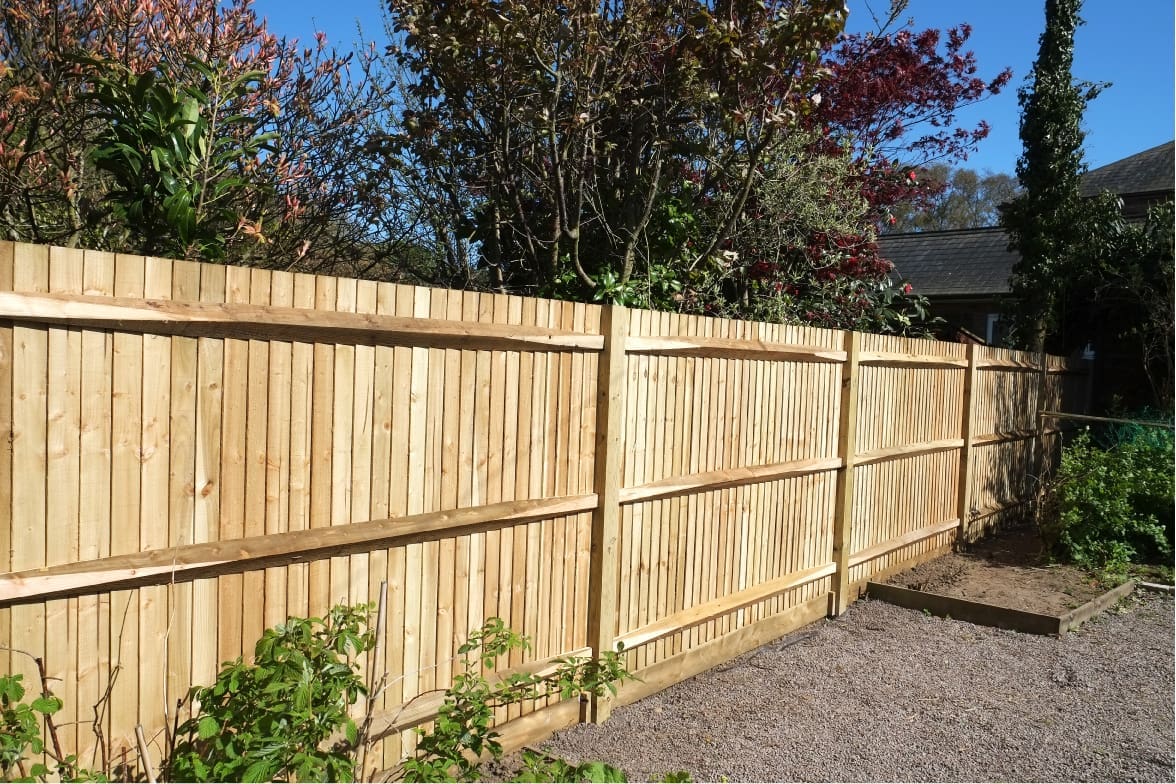
Installing a garden fence can be a satisfying DIY project, transforming the look of your outdoor space while adding privacy, security, and even value to your property. While the idea of putting up a fence might seem straightforward, there are many factors to consider to ensure a successful outcome. In this guide, we’ll walk you through the essential steps, from planning and choosing the right tools to avoiding common pitfalls. As a leader in professional fence installation, Care Fencing is here to offer expert tips so that your DIY garden fencing project goes smoothly.
Planning Your Garden Fence Installation
Before you start digging, it’s crucial to spend time on the planning phase. Proper planning not only makes the installation easier but also helps you avoid costly mistakes down the line.
1. Check Local Regulations and Property Boundaries
In the UK, different councils have various regulations regarding fence heights, especially for front gardens. Typically, a rear garden fence can be up to 2 metres high, while front garden fences are usually capped at 1 metre. Ensure you’re aware of these rules to avoid complications. Additionally, confirming your property boundaries is essential to prevent encroaching on your neighbour’s land. For clarity, consult your title deeds or property plans.
2. Choose the Right Type of Fence for Your Needs
Consider the purpose of your fence: is it for privacy, aesthetic appeal, or to keep pets or children safe? Common fence types in the UK include lap panel, closeboard, picket, and decorative styles. Each type offers different levels of privacy, durability, and maintenance. When choosing materials, wooden fence panels are popular and versatile, but they require treatment to withstand the British weather. For increased durability, consider pressure-treated timber.
3. Measure Your Space Carefully
Measure the area where your fence will be installed to determine how many panels and posts you’ll need. Ensure to account for gates if you’re installing any, and always order extra panels or posts in case of any miscalculations or breakages.
4. Set a Realistic Budget
DIY garden fencing can be cost-effective, but expenses can add up quickly if you’re unprepared. Factor in costs for materials, tools, and any additional treatments or coatings required for the wood. Care Fencing recommends budgeting for unexpected costs – for instance, you may need to level uneven ground, which could add to your material needs.
Tools You’ll Need for Fence Installation
Having the right tools on hand is key to a successful DIY fence installation. Here’s a list of essentials:
- Tape Measure – For accurate measurements.
- Spade and Shovel – To dig holes for fence posts.
- Spirit Level – To ensure your fence is level.
- Post Hole Digger or Auger – Ideal for creating deep, narrow holes.
- Concrete or Postcrete – To secure the posts.
- Hammer and Nails or Screws – For attaching fence panels.
- Saw – In case any panels need resizing.
- Protective Equipment – Gloves, safety goggles, and knee pads are recommended for safety.
- Drill and Screwdriver – For attaching panels and securing brackets.
By preparing all the tools ahead of time, you’ll save yourself from interruptions during the installation process.
Steps to Install Your Garden Fence
Now that your planning and tools are sorted, let’s get started with the installation.
1. Mark the Fence Line
Use a piece of string or stakes to mark the fence line. This visual guide ensures that your fence will be straight. Keep in mind any slopes in your garden, as you may need to adjust the height of the fence accordingly.
2. Dig Post Holes
For stability, fence posts need to be set in concrete. Using a post hole digger or spade, dig holes at least 60 cm deep (for standard garden fences). The holes should be wider at the bottom to ensure stability once filled with concrete.
3. Set Fence Posts in Concrete
Once the holes are dug, set each post in concrete. Use a spirit level to check that each post is perfectly vertical before the concrete sets. It’s best to wait 24 hours for the concrete to cure before attaching any panels.
4. Attach Fence Panels to Posts
Start by attaching the fence panels to the first post using screws or nails. Use brackets if you’re aiming for added stability. Ensure each panel is level before moving to the next post.
5. Finishing Touches
Once all panels are attached, inspect the fence for any unevenness or gaps. To enhance longevity, consider applying a weatherproof treatment or stain, especially if the panels are not pre-treated.
Common Mistakes to Avoid in DIY Garden Fencing
While DIY fencing can be rewarding, there are a few pitfalls to watch out for:
1. Skipping the Planning Stage
Jumping straight into installation without proper planning is a common mistake. Without understanding your boundary lines, local regulations, and the amount of material required, you risk making costly errors that could have been avoided.
2. Incorrect Post Depth
Shallow posts can cause your fence to lean or collapse. Ensuring posts are at least 60 cm deep will provide the stability needed for the UK’s often windy and wet weather.
3. Misjudging Ground Levels
Uneven ground can create problems if not accounted for in advance. If your garden has a slope, plan for either stepped panels or a custom fence height to avoid an awkward appearance.
4. Choosing the Wrong Materials
Using untreated wood or poor-quality fixings will likely mean your fence needs repair sooner rather than later. Quality materials are essential, especially for withstanding British weather.
When to Call in the Professionals
While many homeowners successfully install their own fences, there are situations where calling in professionals like Care Fencing is advisable. Complex layouts, sloped gardens, or particularly hard ground can make DIY installations challenging. A professional installer ensures a high-quality result that lasts longer and adds value to your property.
For those who may want help with part of the process, Care Fencing also offers support in fence panel installation, repairs, and custom designs. By choosing us, you benefit from years of experience, reliable service, and a wide range of high-quality materials.
Maintaining Your Garden Fence
After installation, proper maintenance will ensure your fence lasts for years to come. Here are some simple tips:
- Regular Inspections: Check for any signs of rot, loose fixings, or other damage.
- Treat with Preservative: Applying wood preservative annually helps your fence withstand weather.
- Clear Away Vegetation: Ensure no plants or debris are in contact with the fence, as this can trap moisture and accelerate rot.
With proper maintenance, your DIY garden fence can remain sturdy and attractive for many years. However, if you need repairs or additional panels, remember that Care Fencing is here to help with professional services and advice.

